This little walk through shows you how to create a simple Contact database that can send shipping information to Endicia for Mac with the click of a button.
Note: These instructions are very similar to what you'll find in Filemaker v12. Here's a quick link to the database we use in this example, updated for Filemaker v12.
Let's start by creating a Starter Solution database.
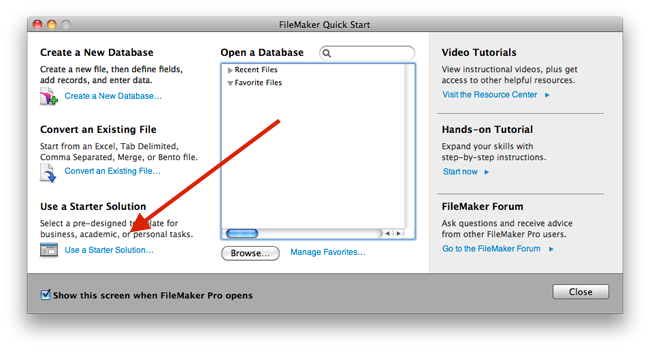
You can launch the FileMaker Quick Start from the Help menu.
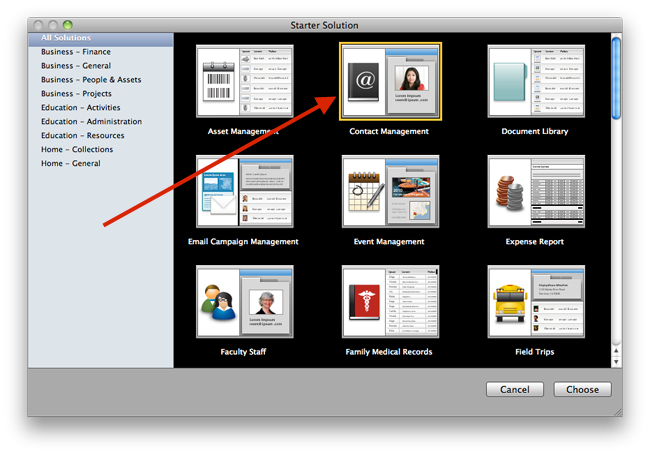
We're going to use the default Contact Management database as a starting point.
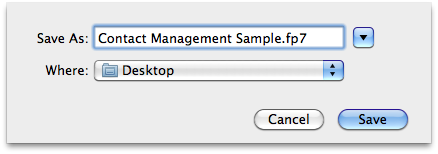
Save the database wherever you like.
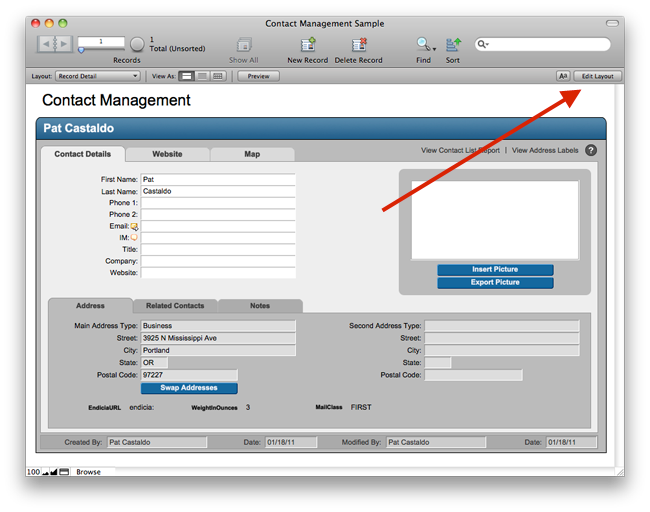
The default contact database will open.
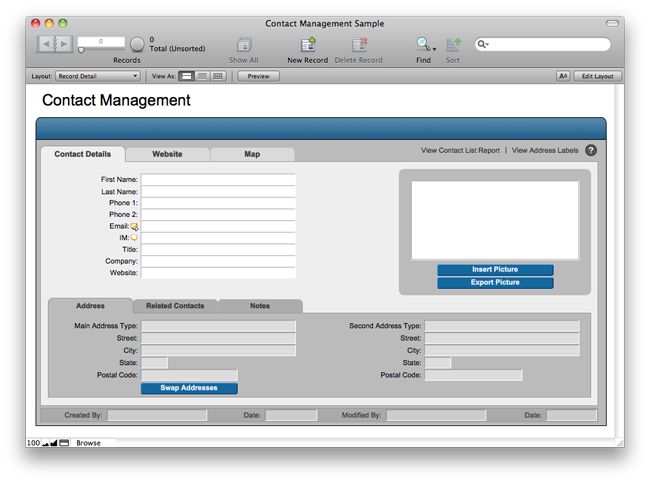
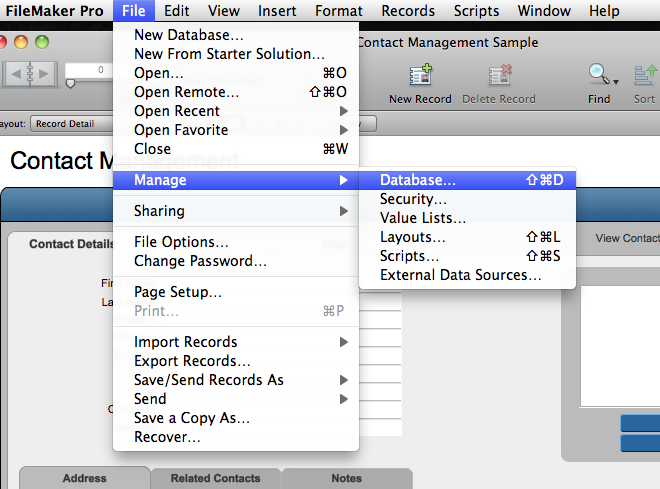
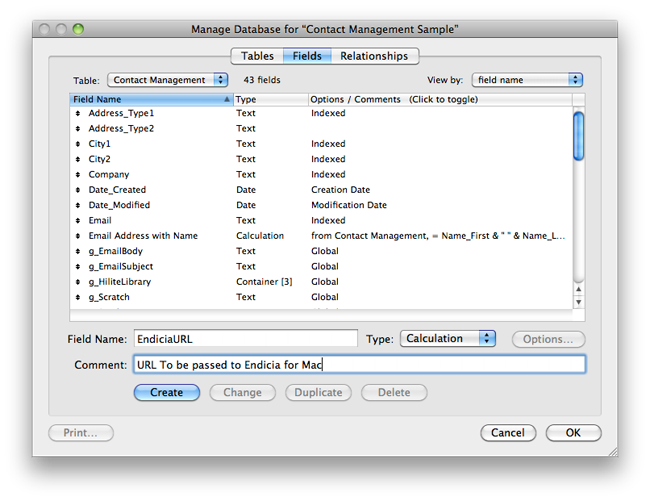
The first thing we need to do is to manage the database and create some new fields.
Choose Manage Database from the File menu.
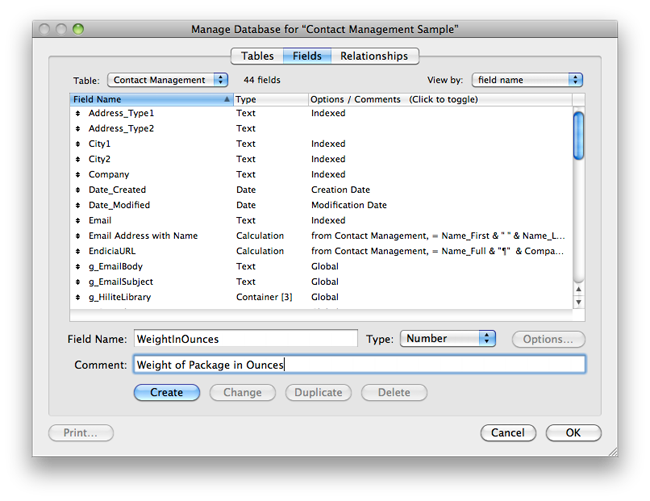
We're going to add three fields to the database.
Weight in Ounces This will let us send over the weight of the package to Endicia.
MailClass This lets us select what type of mail we're sending (First Class, Priority, etc).
EndiciaURL This is the "magic" field that will get called to pass the data to Endicia for Mac.
Weight in Ounces is a simple numeric field.
Mail Class is a little more complicated. First, create a text filed and save it.
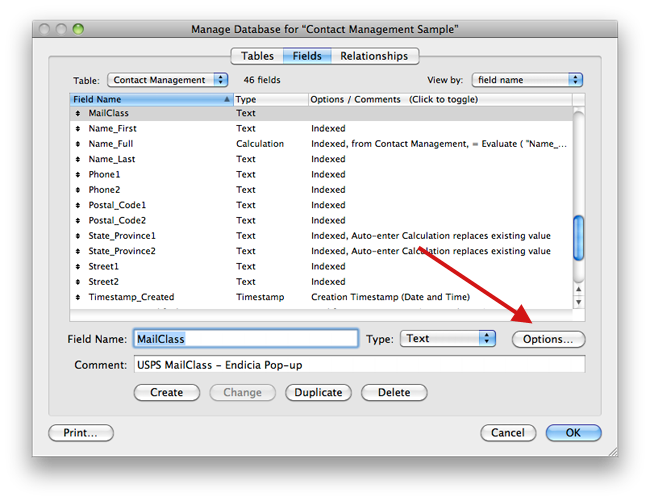
Then we want to choose the options for that field, and add a value list for the mailclass.
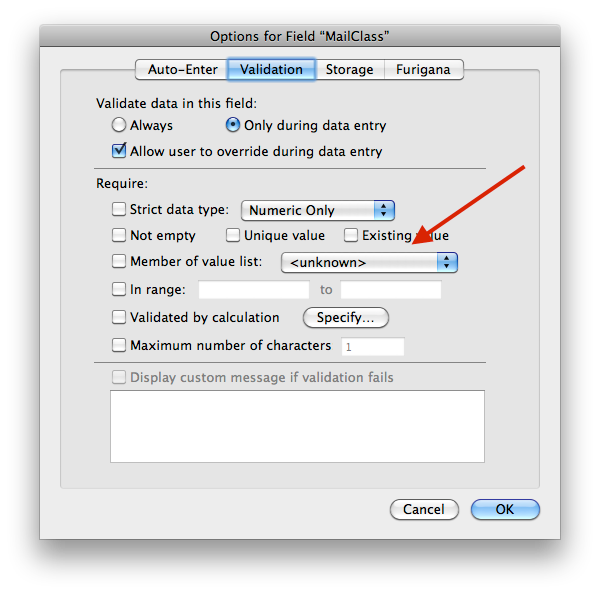
Choose "Manage Value Lists..." from the pop-up.
Then we'll create one with the valid Mail Class lists from the Dazzle XML specification.
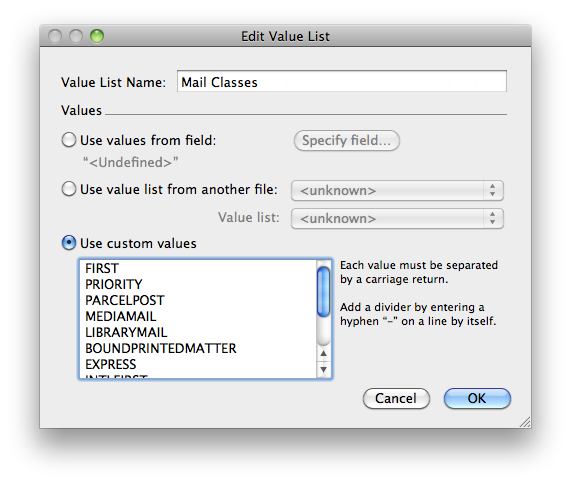
Don't worry about copying that list... you can grab it from our sample file.
Once defined, then you'll set the field to use that validation list.
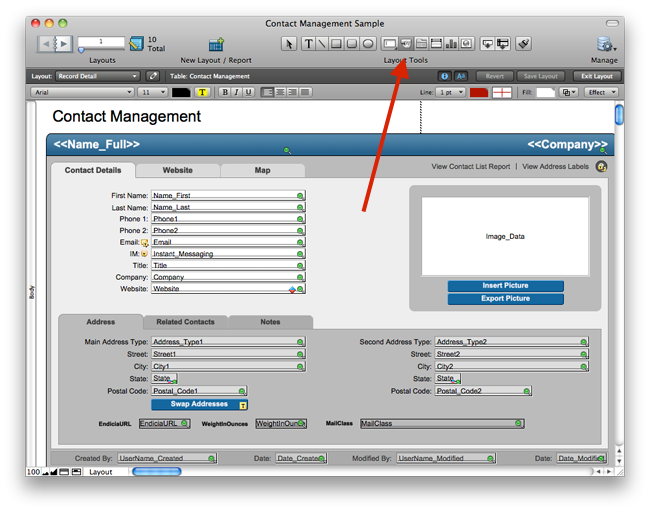
The Endicia URL is the most complicated filed; it's a calculation field that pulls together the entire address and the two fields you just created.
Click "Create" to save the new filed, and then chose "Options.." and you'll build the field:
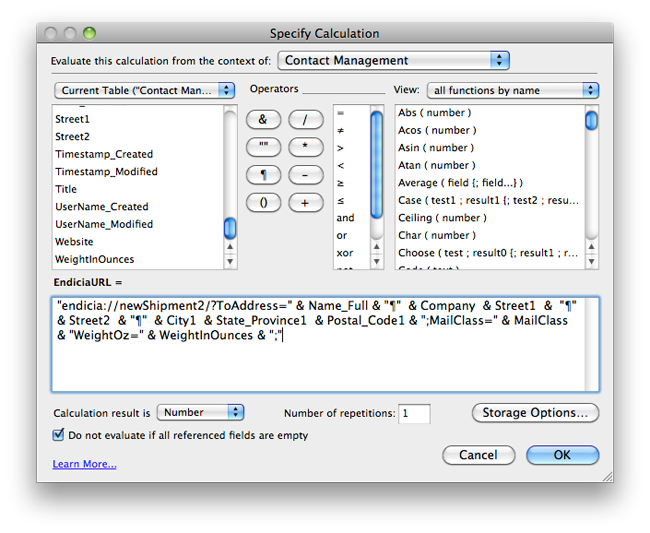
The calculated field is created by building up parts of the URL from the address options in the table, prepended with the special URL type of Endiica and the command ?ToAddress like so:
"endicia://newShipment2/?ToAddress=" & Name_Full & "¶" & Company & Street1 & "¶" & Street2 & "¶" & City1 & State_Province1 & Postal_Code1 & ";MailClass=" & MailClass & ";WeightOz=" & WeightInOunces & ";"
Once we've created all the fields, we'll now build a script to send the information over to Endicia
Choose "Manage Scripts..." from the Scripts Menu. And then create a new script:

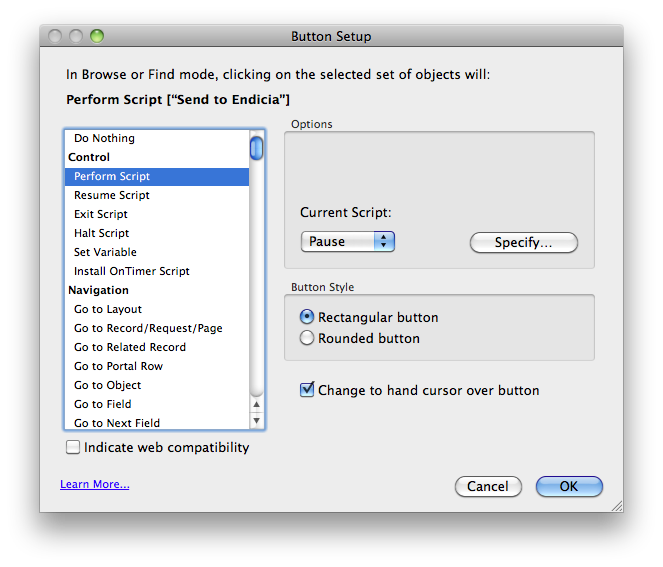
We're going to name the Script "Send To Endicia" and select the option to perform without dialog, so that it doesn't prompt us every time.
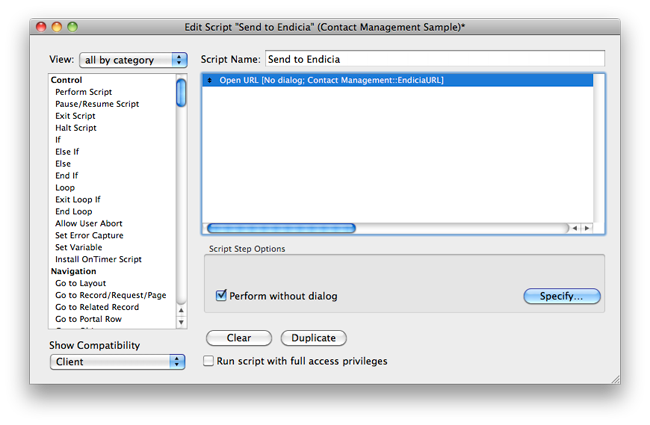
Choose "Open URL" from the list of actions on the right, and then set the URL to the calculated field we made earlier.

Now we've created all the fields and actions we'll need.
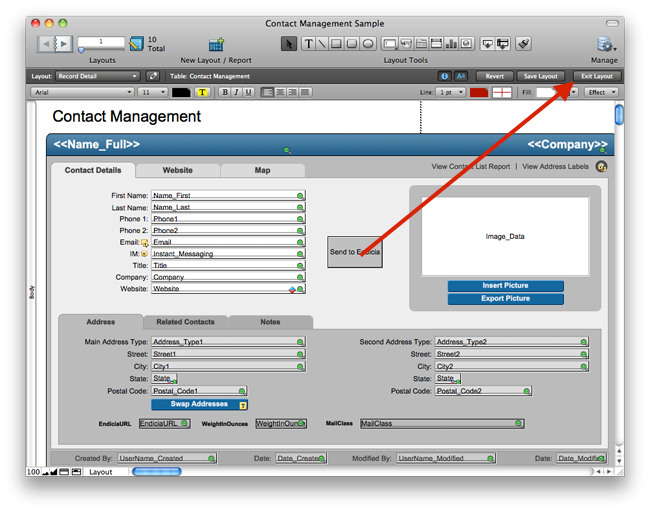
Next step is to add a button to the layout to call the script so that we can send the address to Endicia for Mac.
Then select the button tool, and draw a button.
Then, setup the button to perform the "Send to Endicia" script that you made earlier.
Then, exit the layout and try your button in action.
That's it.
That's the basics of how to setup a script to send address information to Endicia. They key take away points are:
- Create a combined address with all your fields.
- Send over the attributes you want (apart from just address) based on the Dazzle XML. Send over the attribute as named pairs in the URL, separated by semicolons.
You can download the sample file we created in this example, here.